How to Replace Ceiling Tiles Without Breaking a Sweat
Do you have news to share?
Share your announcements and news articles with fellow SCBP members on our website!
If you are interested in joining SCBP, please contact: Chris Edwards, CEO & President at CEdwards@scbp.org

How to Replace Ceiling Tiles Without Breaking a Sweat
Replacing ceiling tiles might seem daunting, but with the right tools and a few simple steps, you can restore your ceiling's look without breaking a sweat. Here’s how:
Step 1: Gather Your Materials
Before you start, ensure you have replacement tiles, a utility knife, a ladder, tape measure, and adhesive or fasteners. Having everything ready saves time and keeps the process smooth.
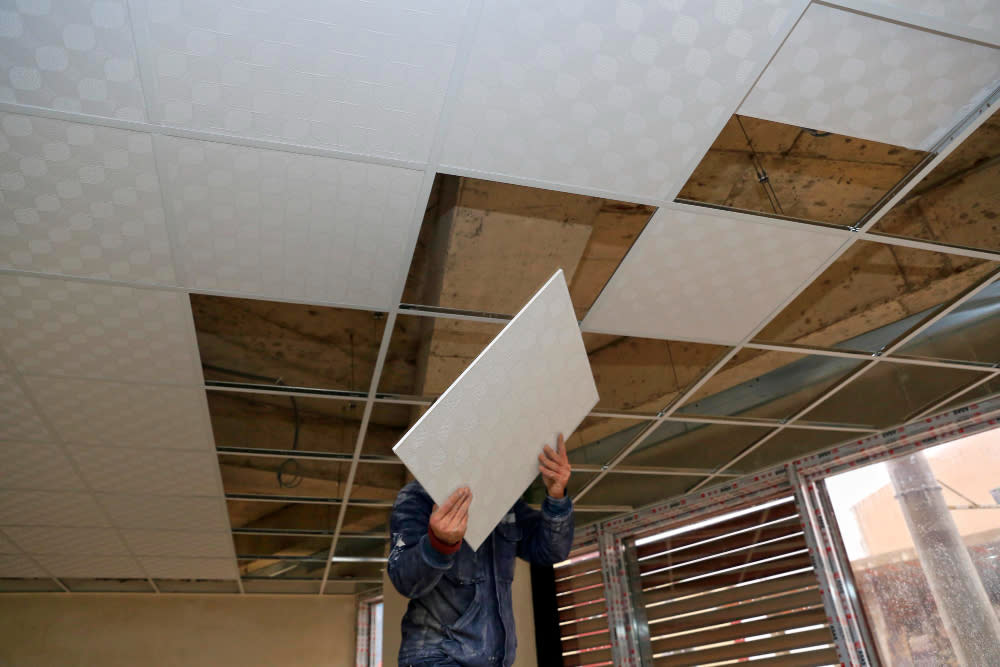
Step 2: Remove the Damaged Tile
Gently lift or unscrew the damaged tile from the grid or ceiling surface. For glued tiles, use a putty knife to carefully loosen the adhesive. Take care not to damage surrounding tiles.
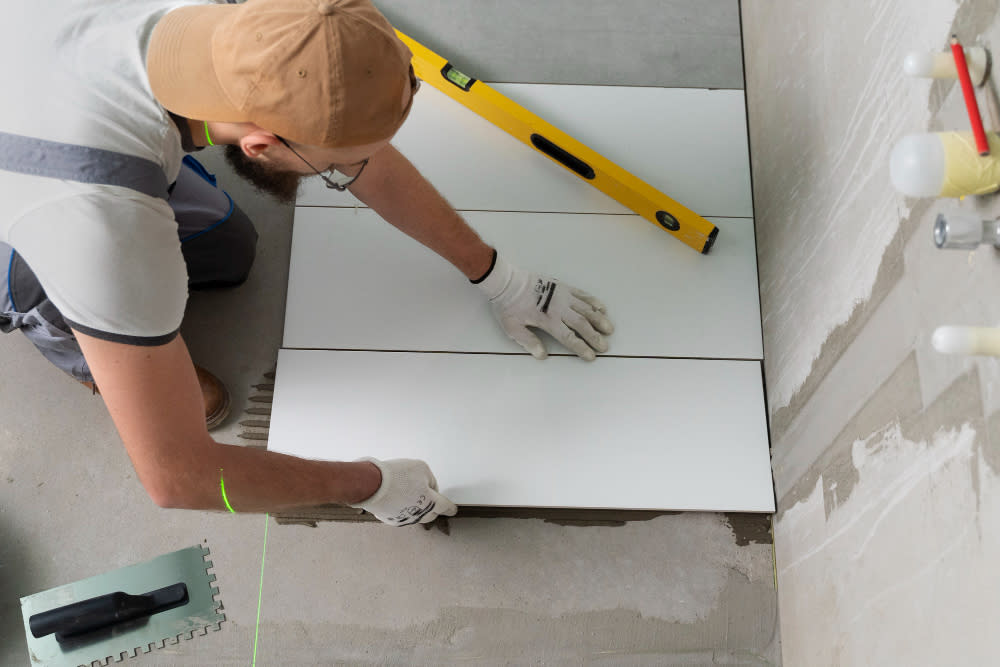
Step 3: Measure and Cut the New Tile
Use the damaged tile as a template to cut the replacement tile to size. If adjustments are needed, measure the opening and use a straightedge for precise cuts.
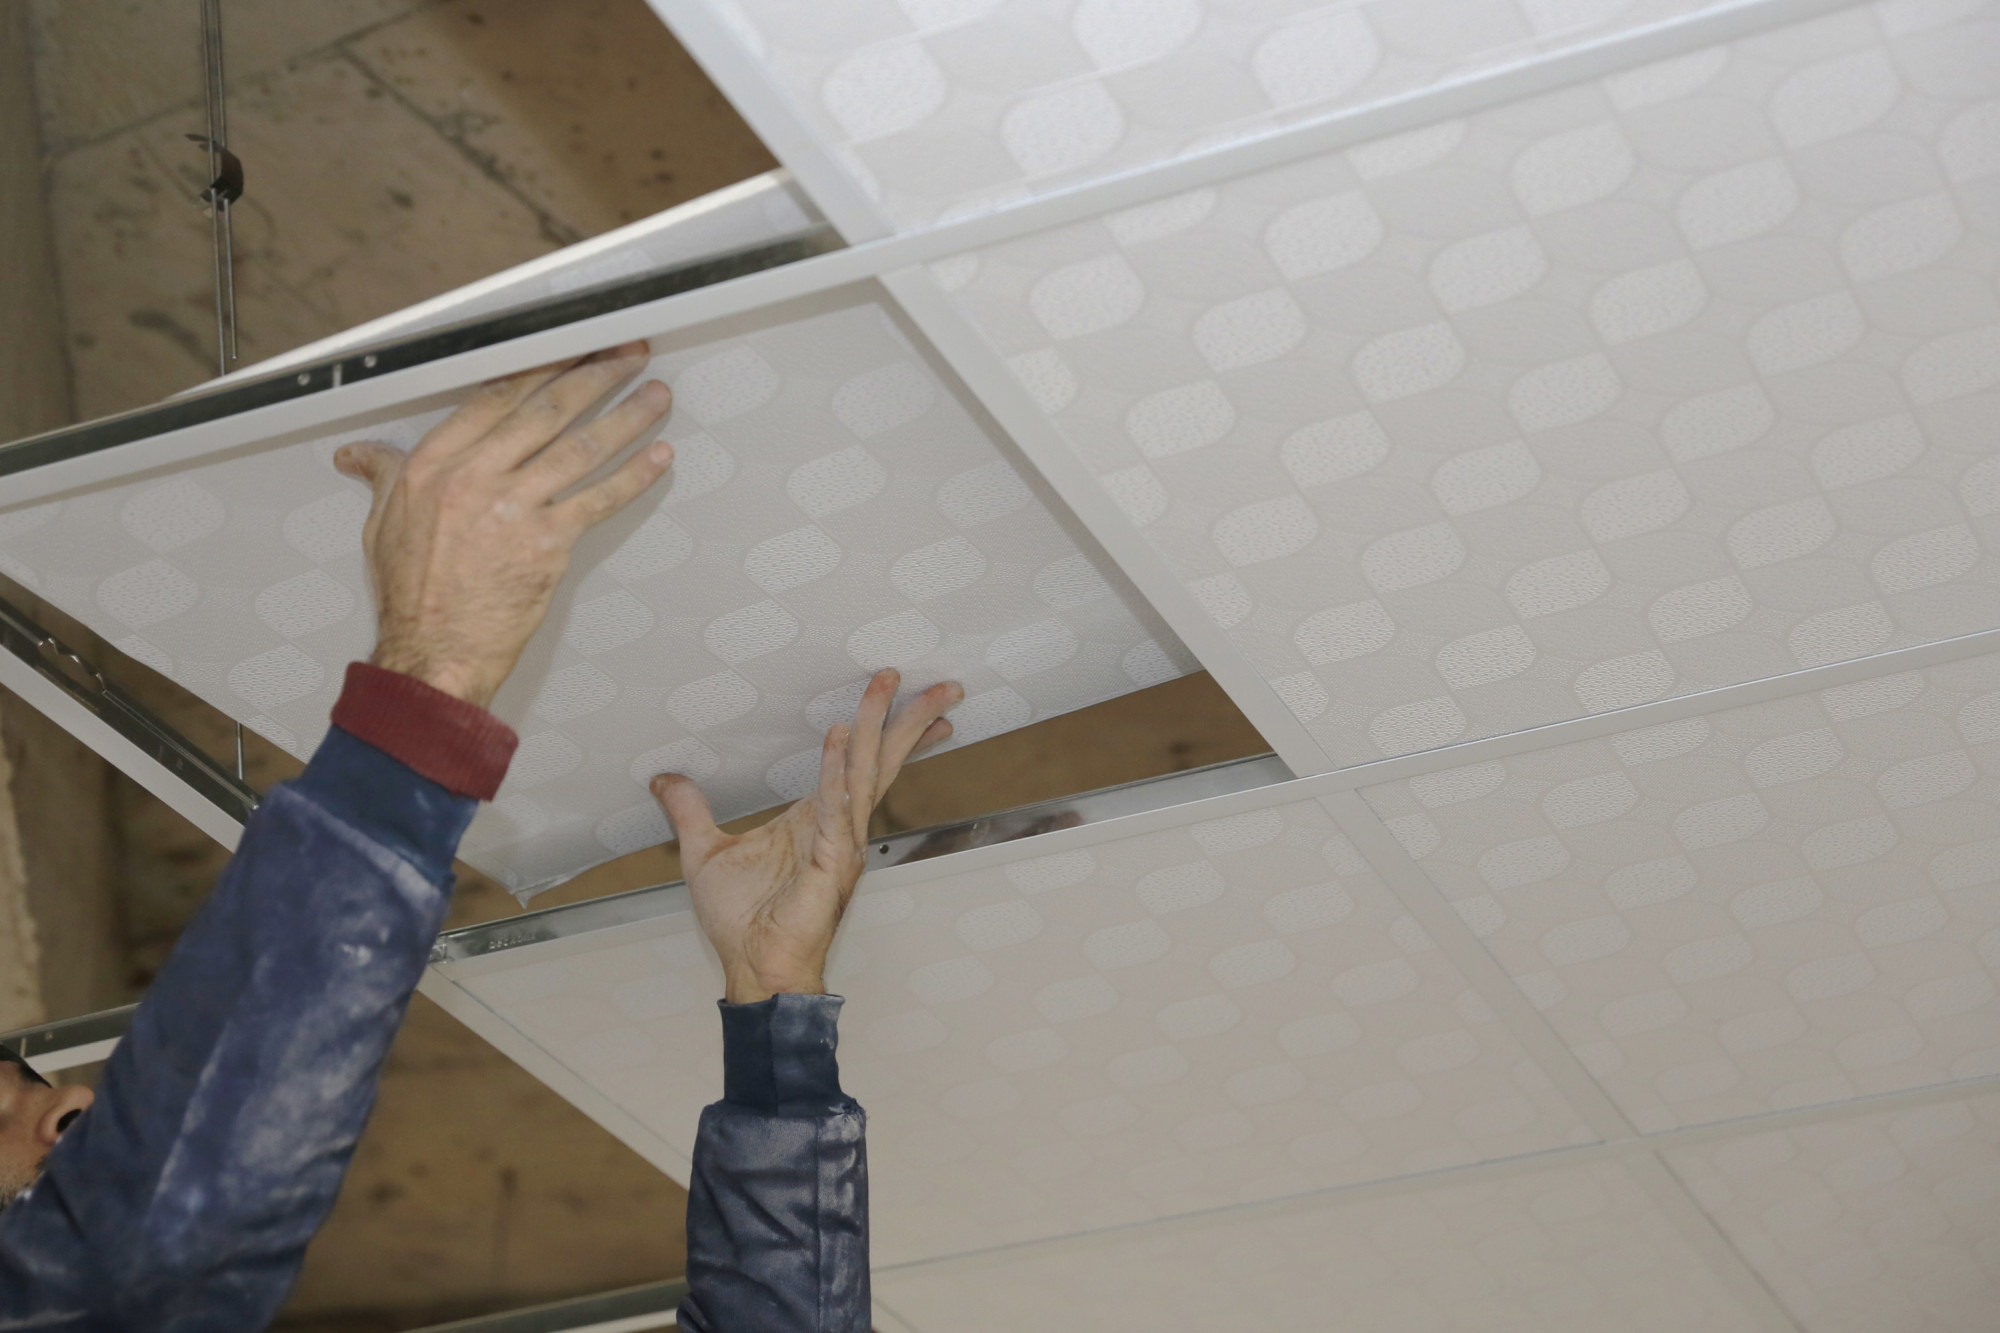
Step 4: Install the Replacement Tile
Fit the new tile into place, securing it with adhesive, screws, or by snapping it into the grid. Make sure it’s flush with the surrounding tiles for a seamless look.
Step 5: Touch Up and Inspect
Once installed, check for gaps or uneven edges. Touch up with paint or caulk if necessary to match the ceiling’s finish.
Replacing ceiling tiles can instantly refresh a room and fix unsightly damage. With these steps, you’ll have a pristine ceiling in no time!

Need professional help?
Contact Ace Handyman Services for expert ceiling tile repair and replacement. We’ll make your ceiling look as good as new!
Call us now at 732-201- 6702 or visit our website.
Images